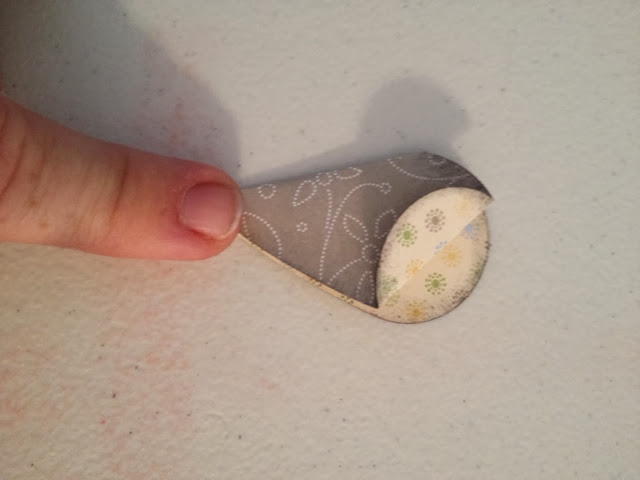
So the first step is to find some scrap two sided paper or you can use plain paper that you have stamped on both sides as long as there is a difference between the two sides. I used double sided paper because I have tons of it that I never use because I can never decide which side to use. Punch the paper with a heart shaped punch..... the size heart you use will determin what size your final flower will be.
The heart is folded in half. Then sponge the edge of the heart. Not all of the edge will be shown after the flower is made so if you only want to sponge the parts that are shown I have a photo that shows what area you would need to accent. I have tried this by using a lighter color than the paper but it just didn't look right so I stuck with the darker ink.
After the heart is sponged fold down one of the heart halfs so it shows the color inside.
After it is all folded I sponge the outside if the crease.
I placed mine on a large glue dot on the back of my stampin scub so I could get the glue dot off and place it on my card where ever I wanted.
Keep placing all the petals around in a circle. Stampin' UP! has awesome dots that are very forgiving so if you place a petal and you need to move it you are able to.
Add an embelishment to the center of your flower and you are done!!
Keep placing all the petals around in a circle. Stampin' UP! has awesome dots that are very forgiving so if you place a petal and you need to move it you are able to.
Add an embelishment to the center of your flower and you are done!!


No comments:
Post a Comment